


Process with Rob Tennent

Process with Rob Tennent. Developing visuals of Reflexión.
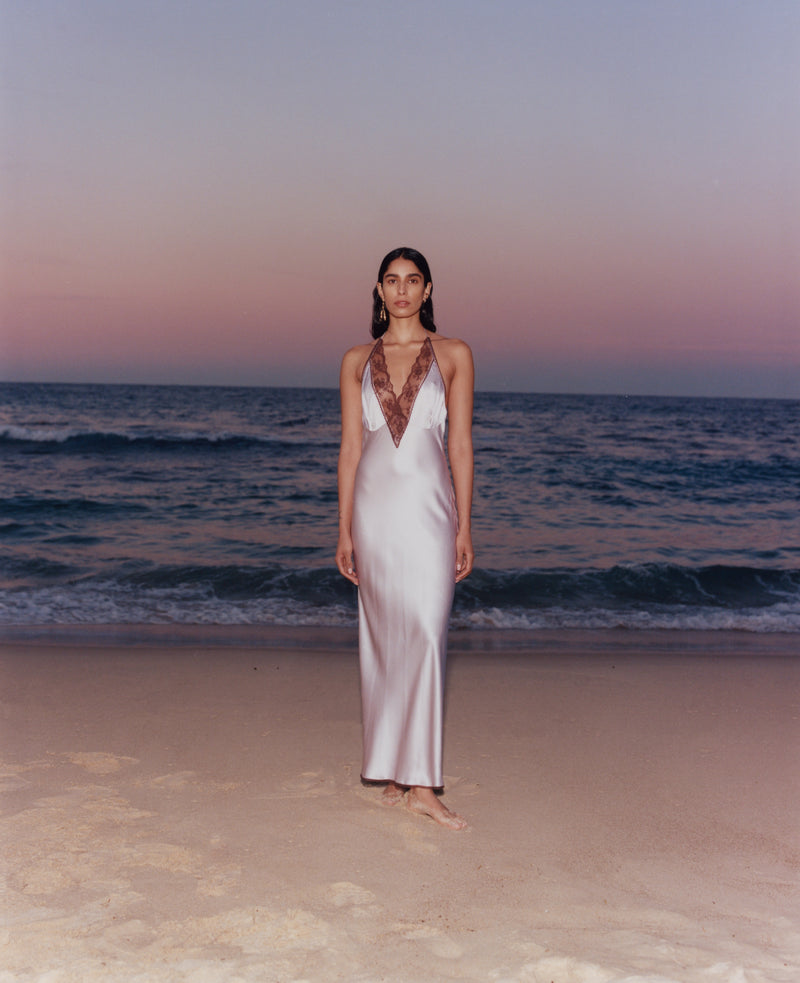
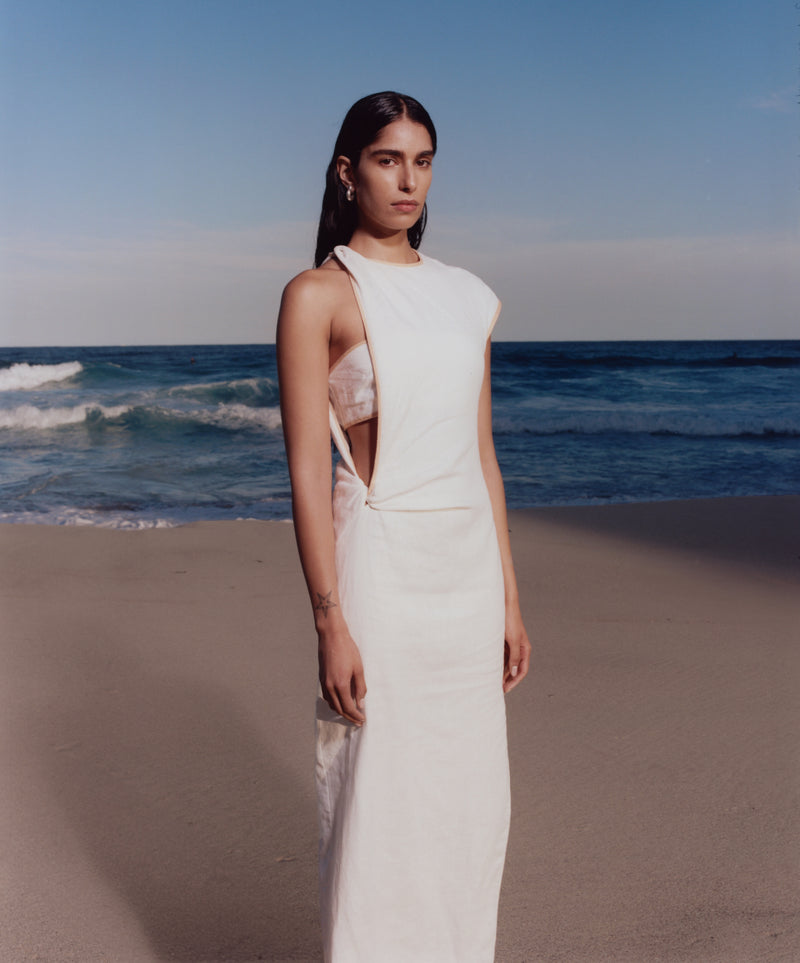
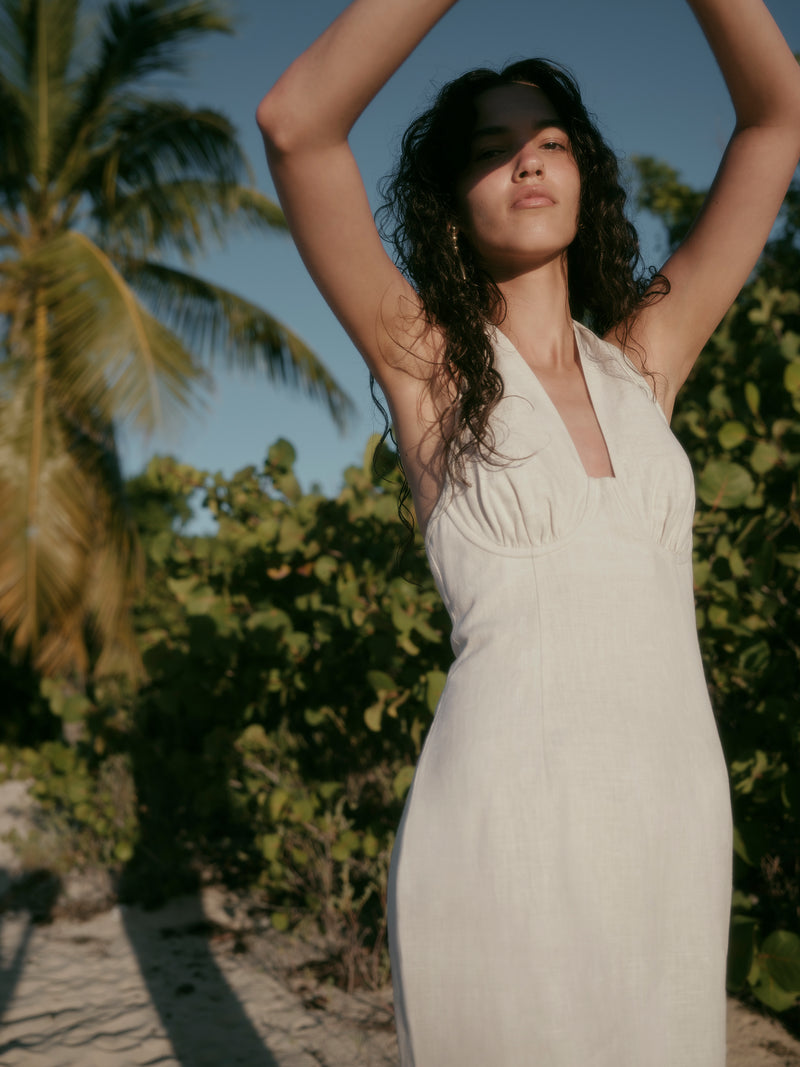
As part of our creative collaboration with Rob Tennent, we open his darkroom to uncover his process of bringing visuals to light. A traditional process steeped in technique and a deep understanding of what is required to develop a balanced image. A medium Tennent has mastered over the course of his creative career.

First I start by selecting the negative with the desired image I am wanting to print. I then slide this into the enlarger which projects a light through the lens.
From here, in complete darkness, I slide a piece of light sensitive paper under the enlarger and I do an exposure test. This determines the density of the colour. I do this by exposing the paper by 2 seconds each time while moving a card that is covering the paper.

The lightest is 2 seconds and the darkest is 14. I pick the perfect one which is around 10. Once I find the right exposure, I determine what colours I would like.
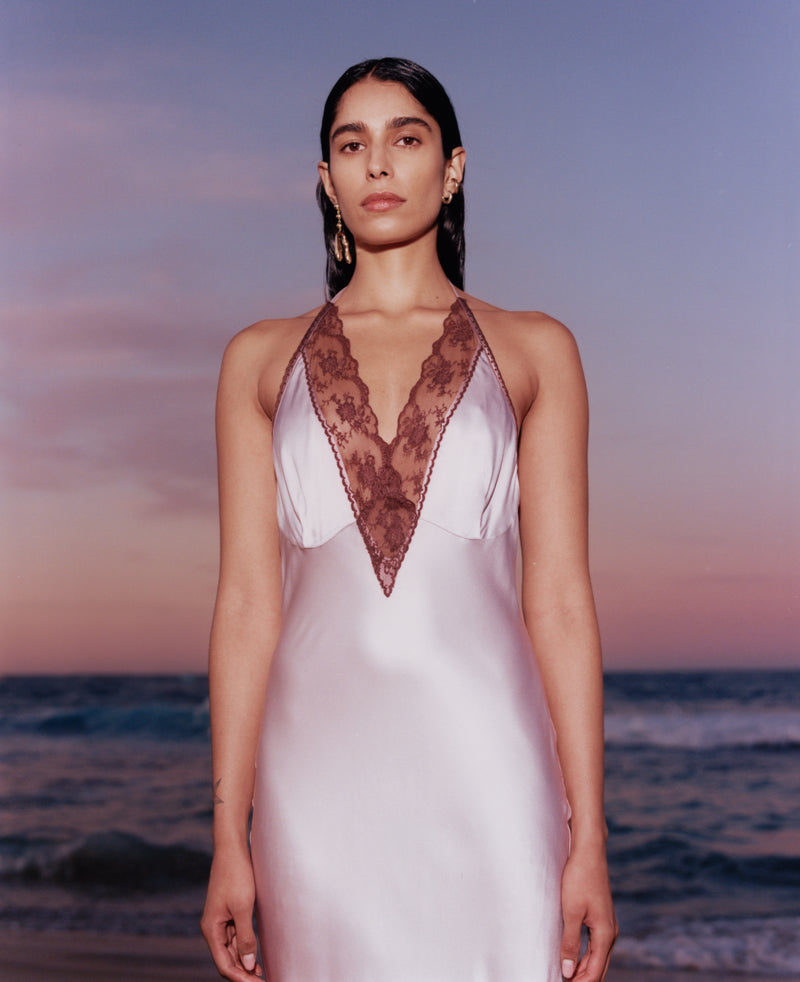
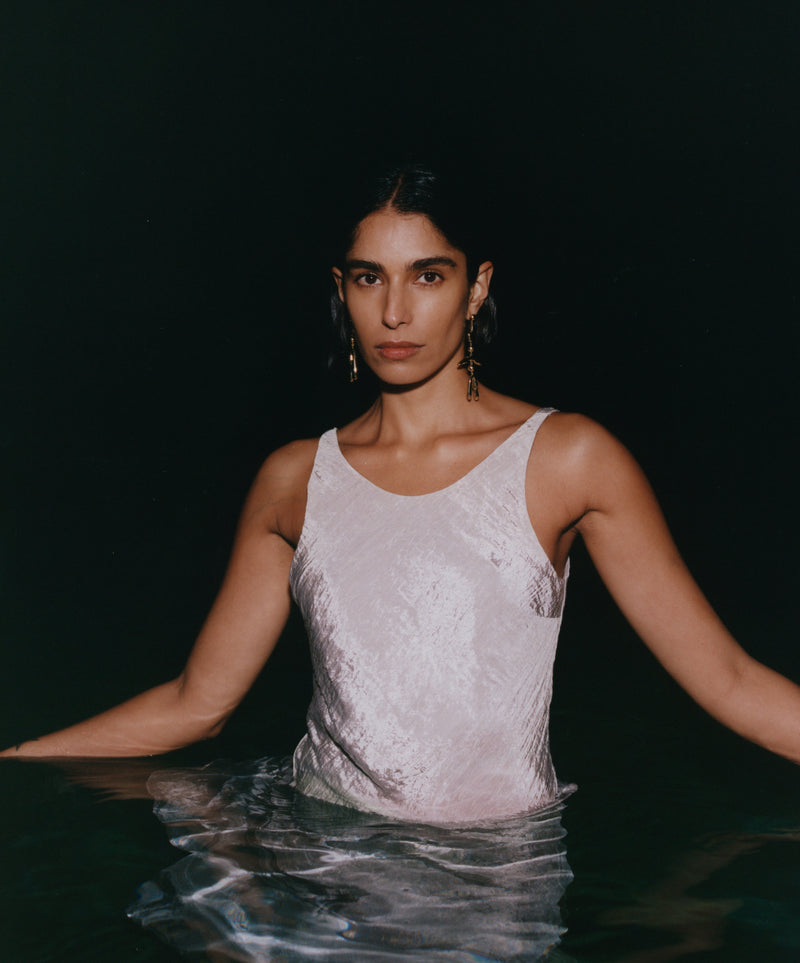
You can control how much cyan, magenta and yellow is in the image. I can see the image from the exposure test has slightly too much magenta so I take this out of the enlarger. From here, I pre expose the paper by 2 seconds under a different enlarger which pre-flashes it with a predetermined colour, here I flash it with a slight orange hue to emphasise the sunset effect.
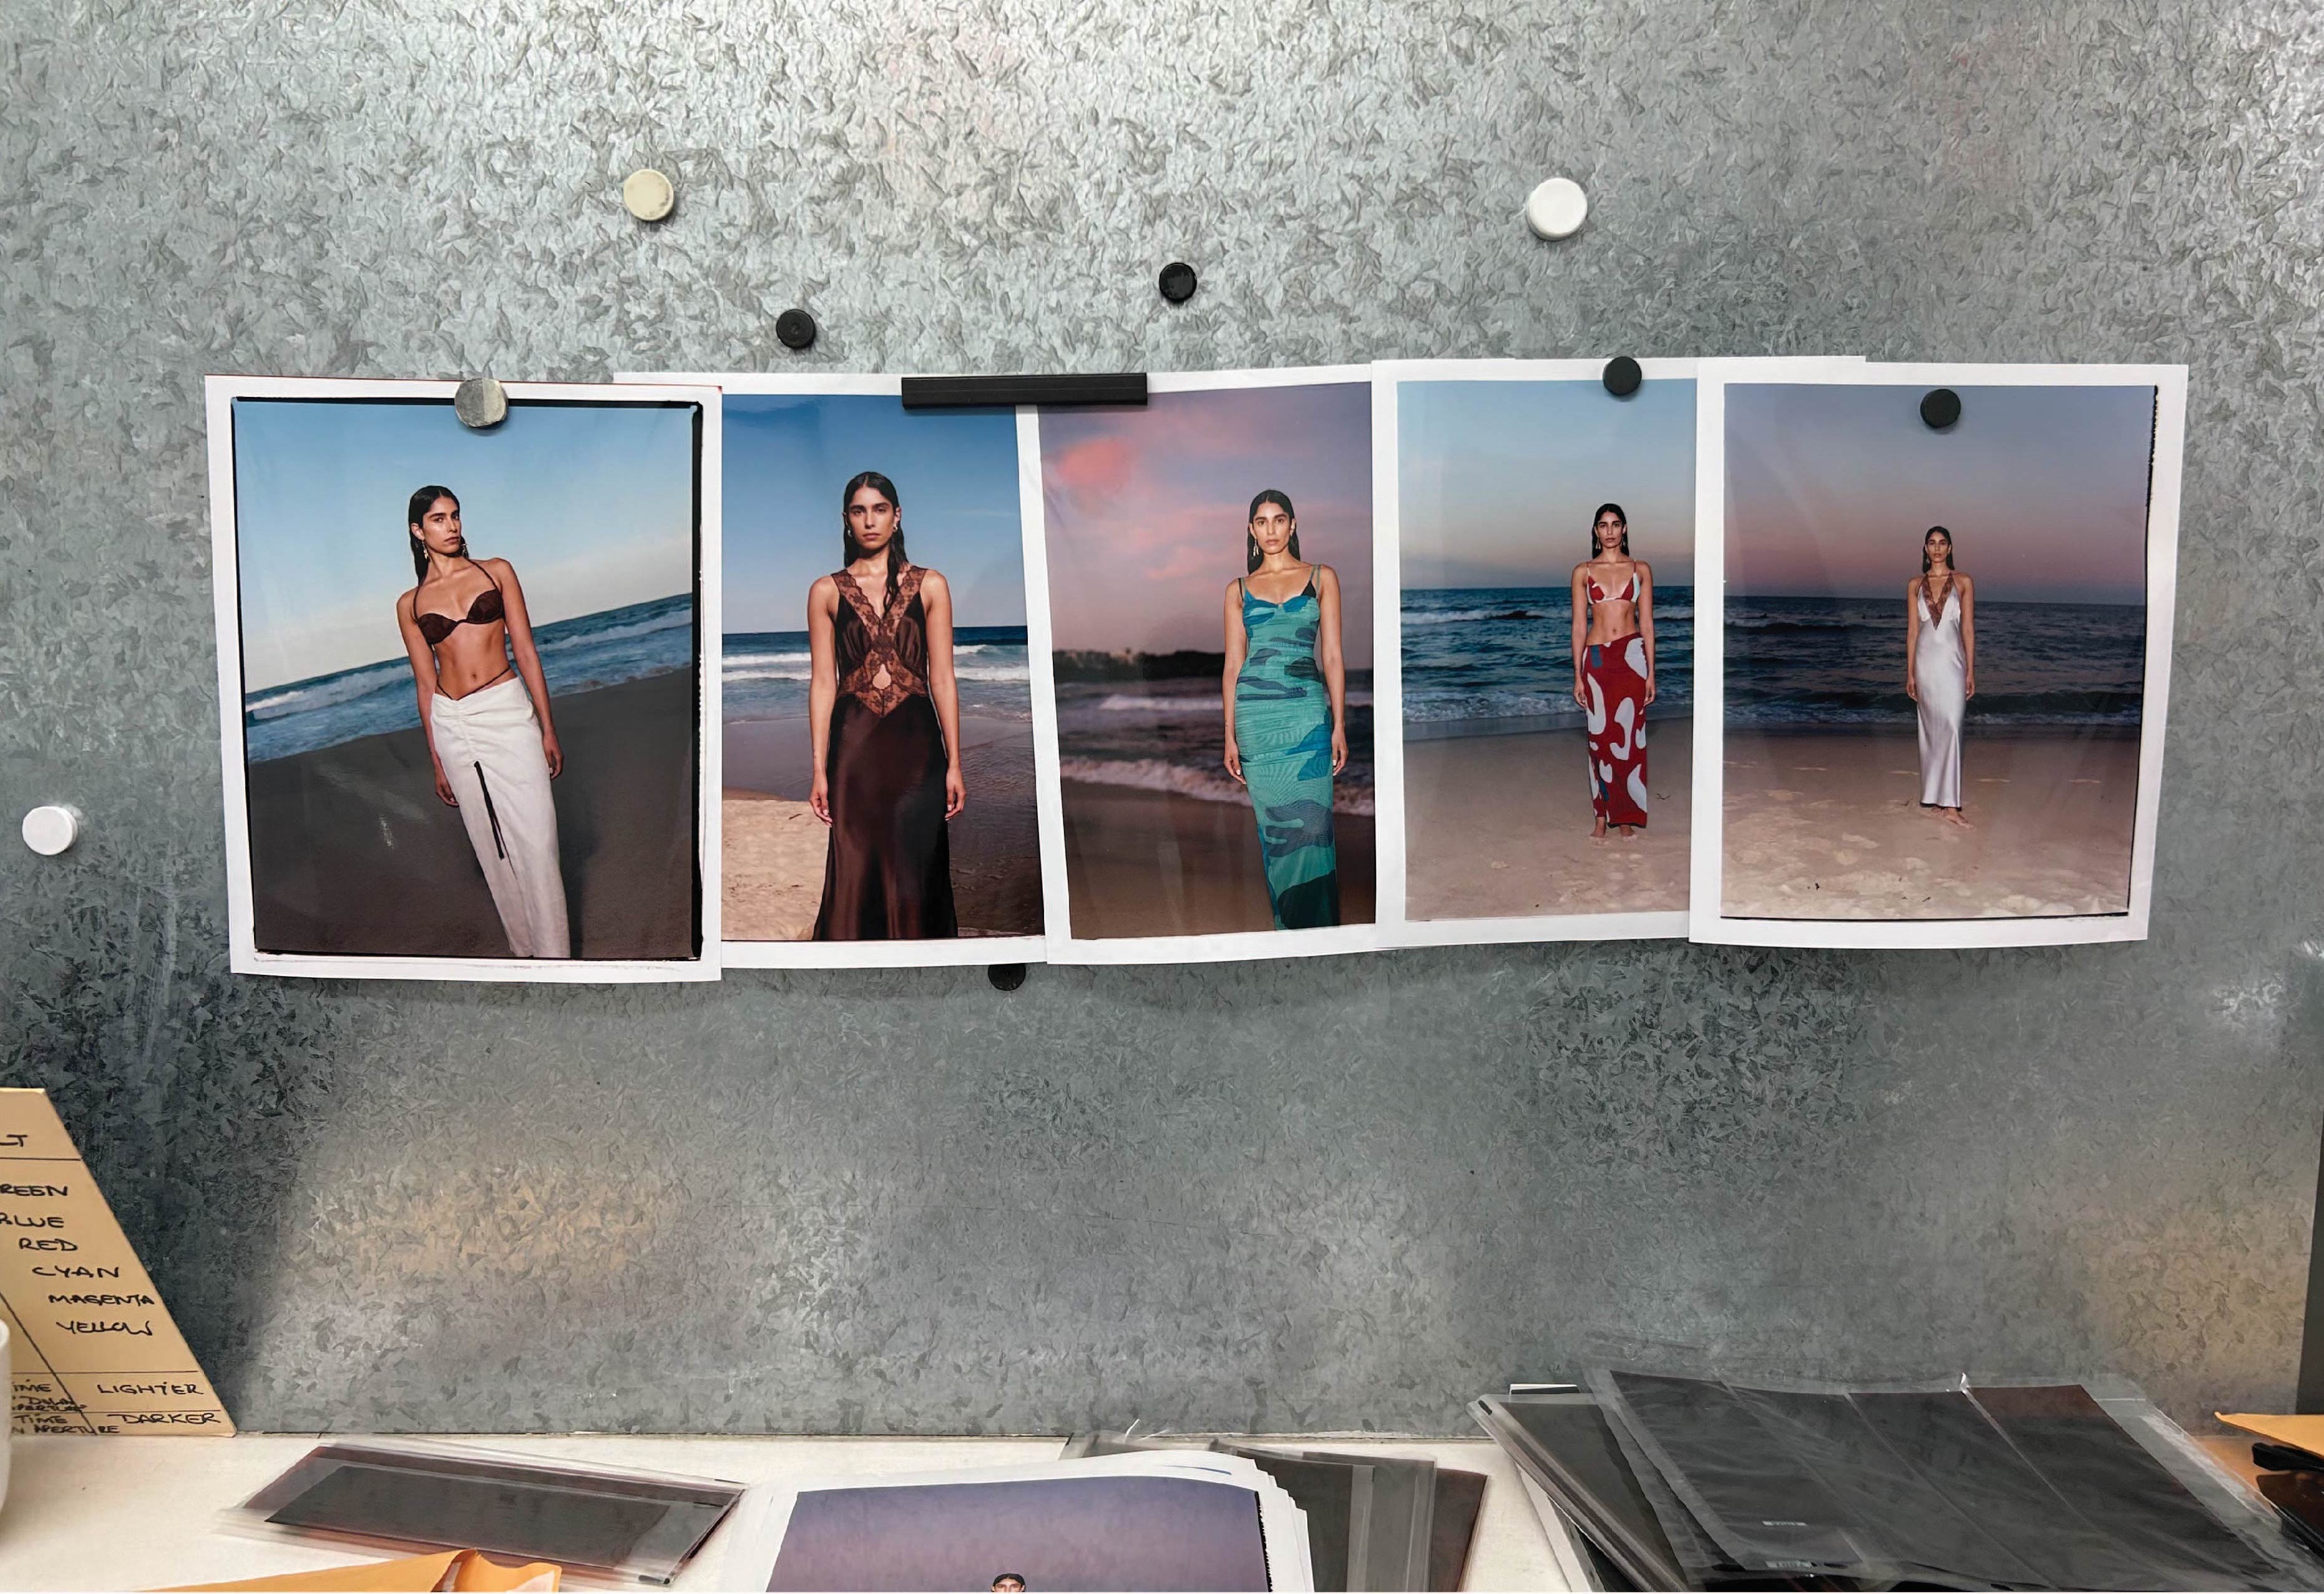
Once this is done I take it over to the other larger with the negative in it and expose the image on top of the pre-flashed coloured paper. I then put the paper through a chemical processor which develops the paper to show the print. I then scan this and that's the final image.
The process takes 40 minutes to an hour – I then do it 30 times if there are 30 images. Once I find the initial settings, the rest of the images flow a little faster, as long as the camera settings and film stock were relatively similar.
Follow Rob: @robtennent
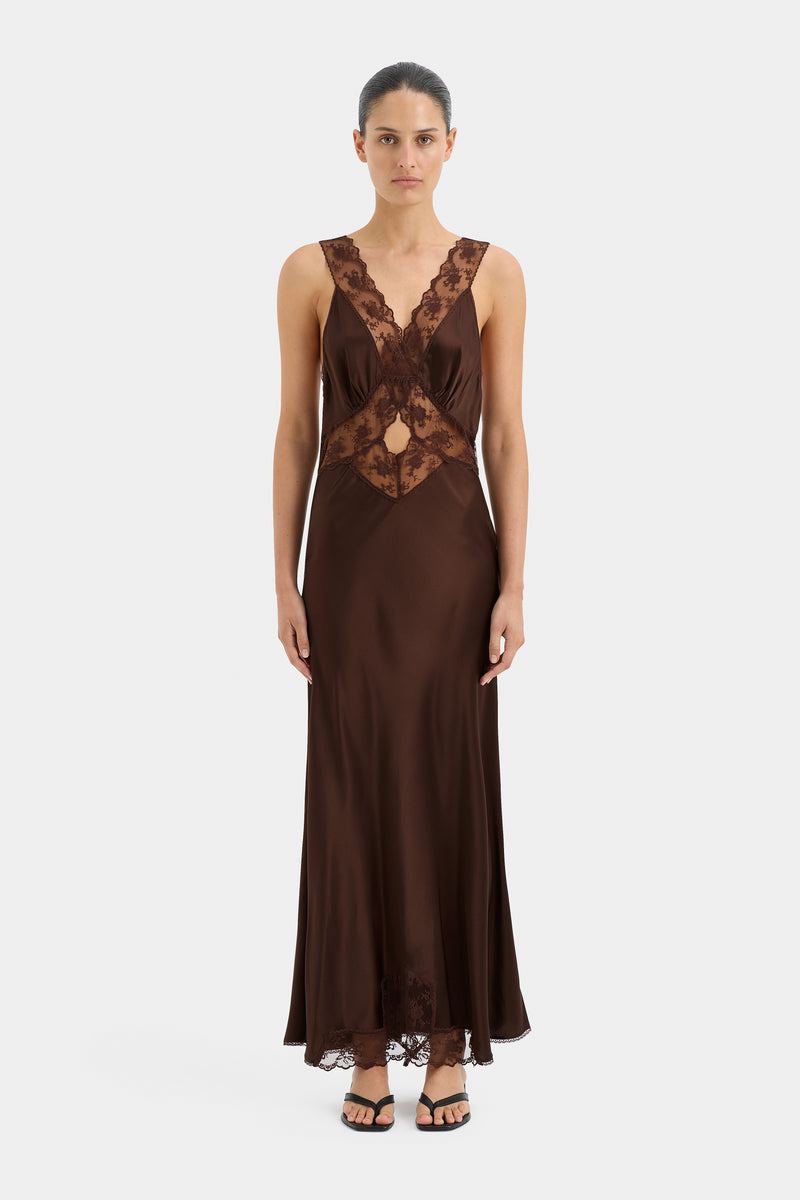
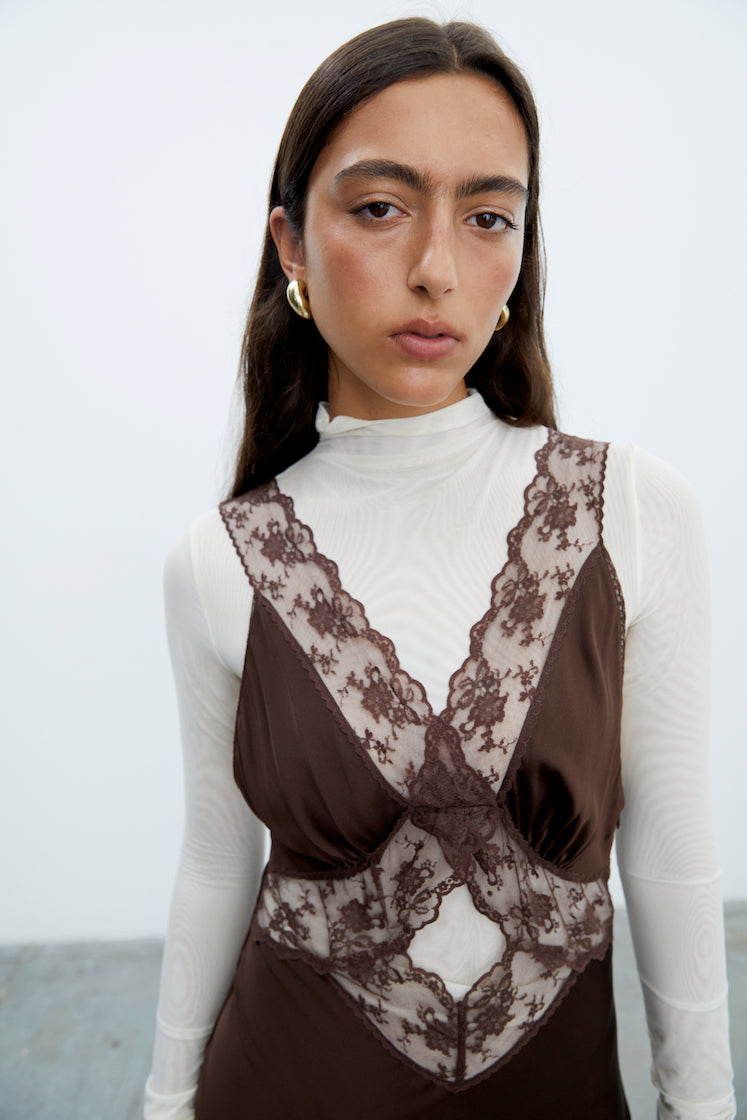
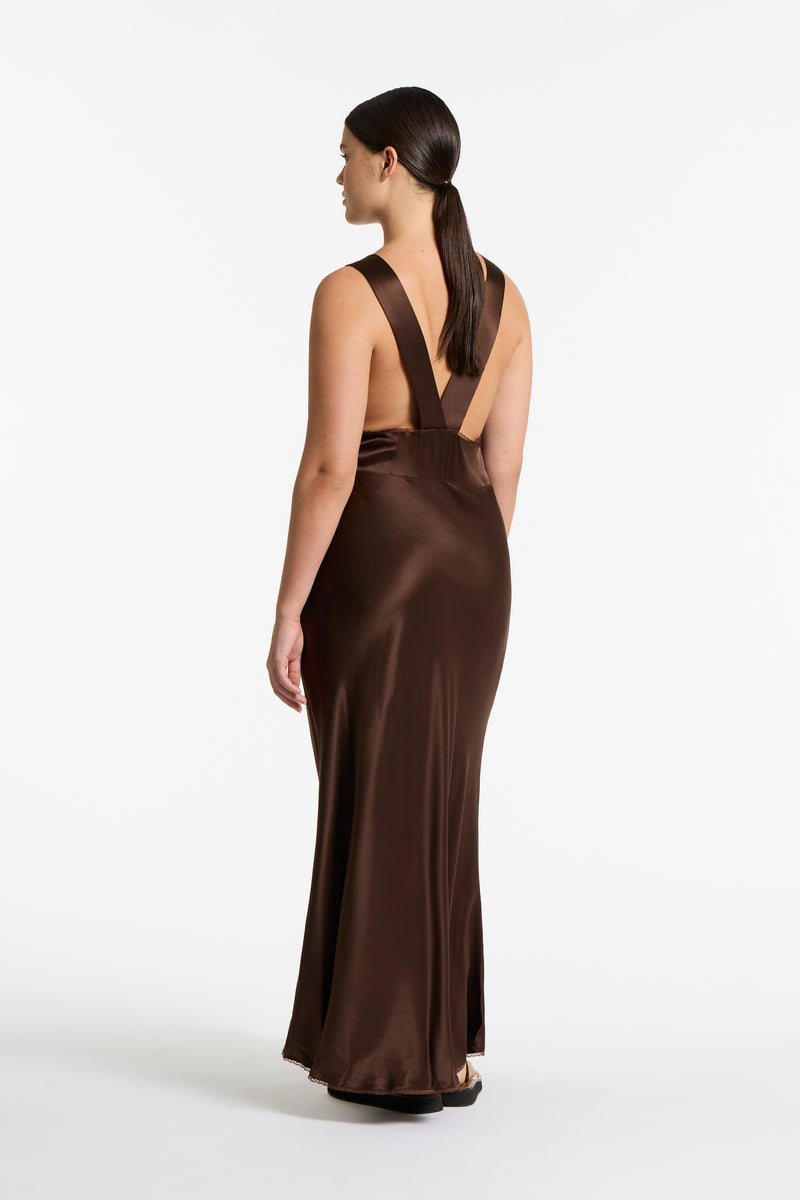
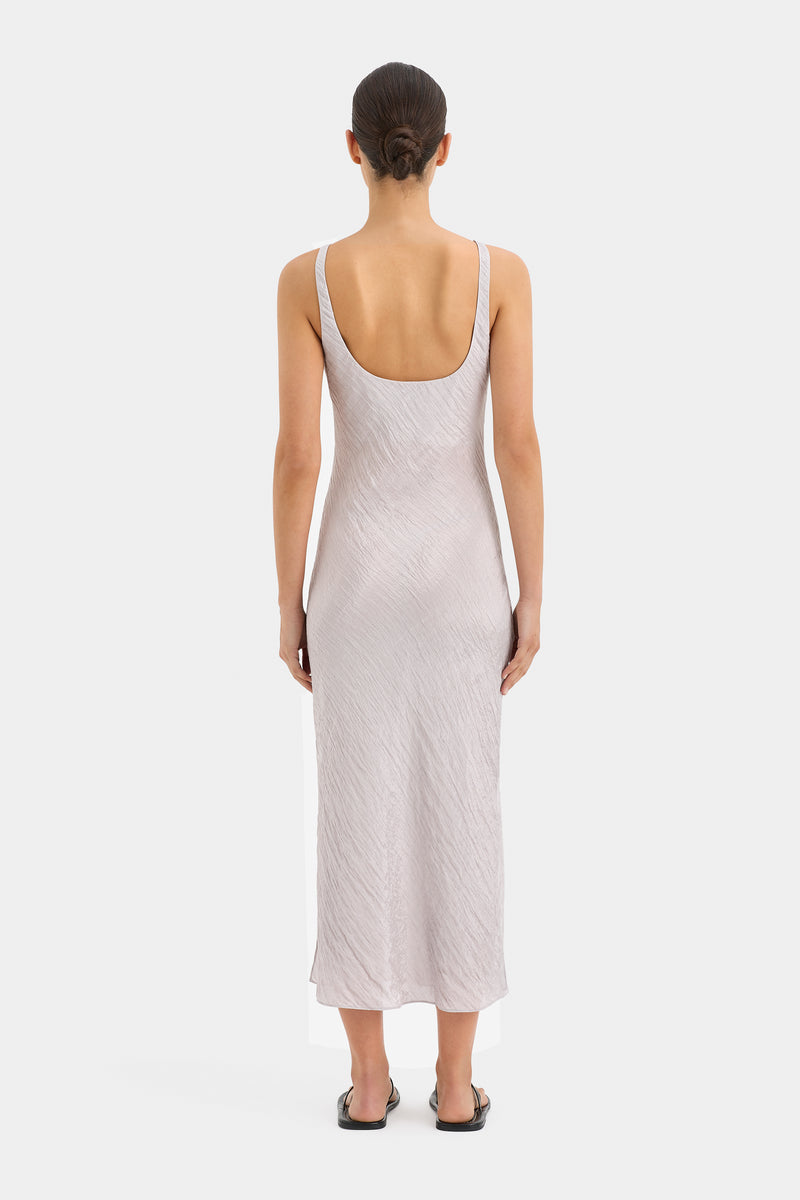
RESORT '24 EARLY ARRIVALS